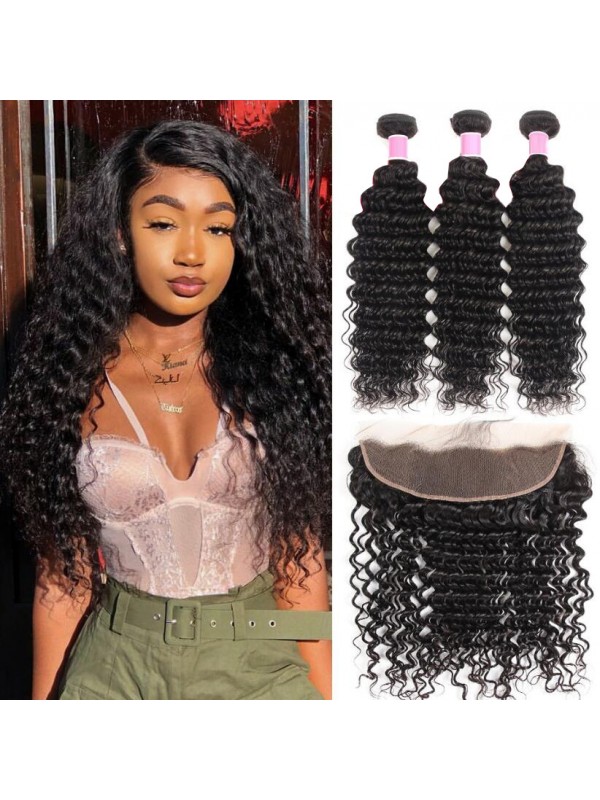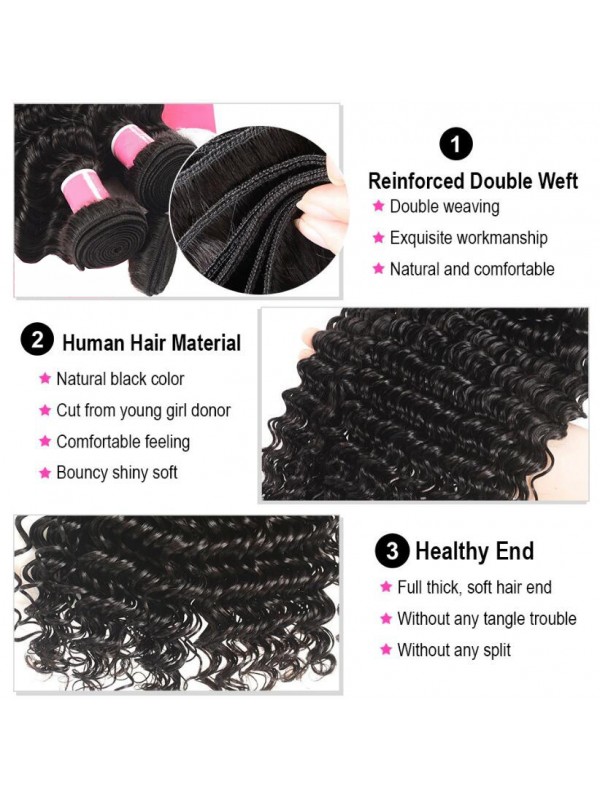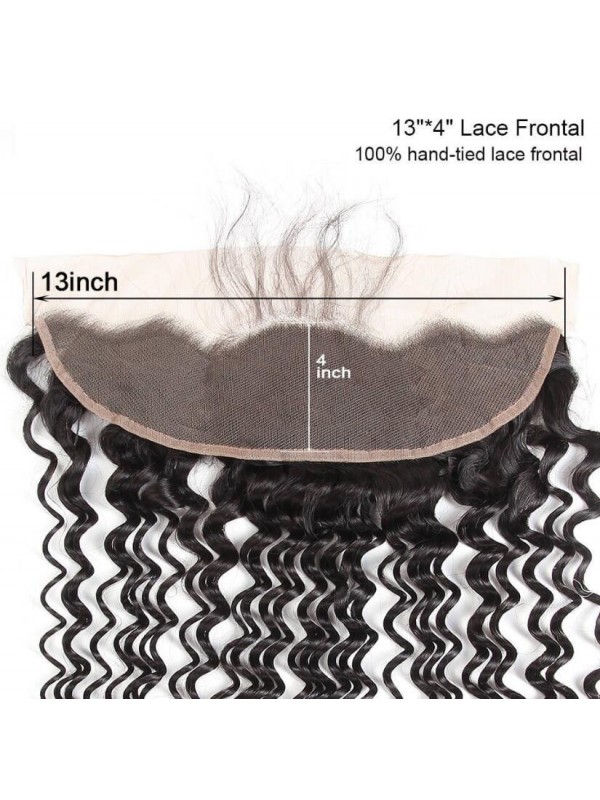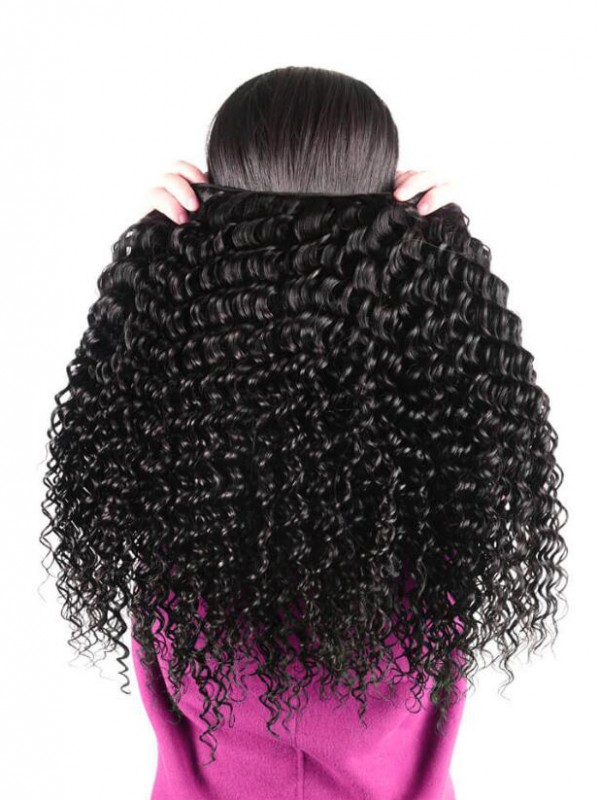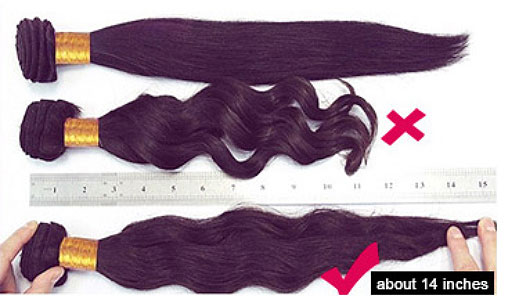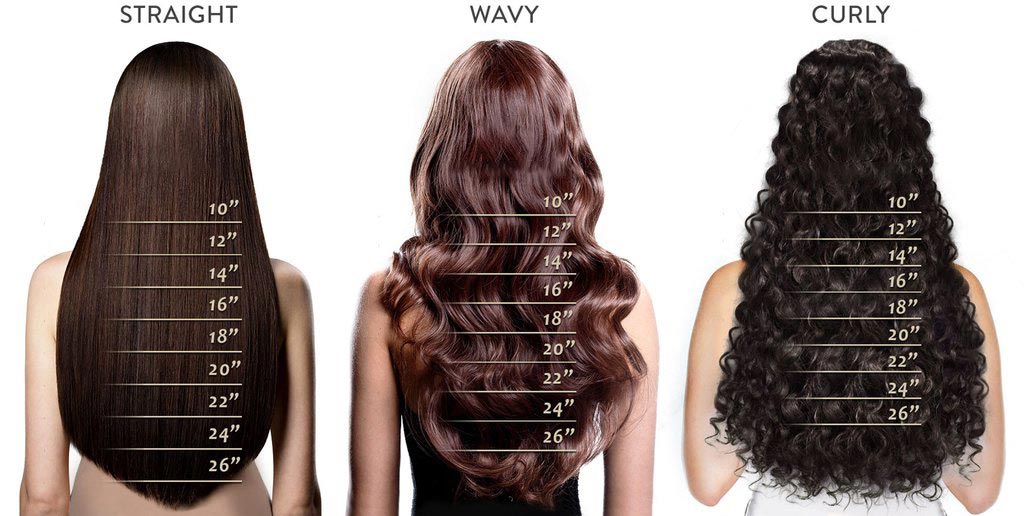
| Aout wigms.com hair waves length | ||||||||||||
|---|---|---|---|---|---|---|---|---|---|---|---|---|
| Length(inch) | 8" | 10" | 12" | 14" | 16" | 18" | 20" | 22" | 24" | 26" | 28 " | 30" |
| CM | 20 | 25 | 30 | 35 | 40 | 45 | 50 | 55 | 60 | 65 | 70 | 75 |
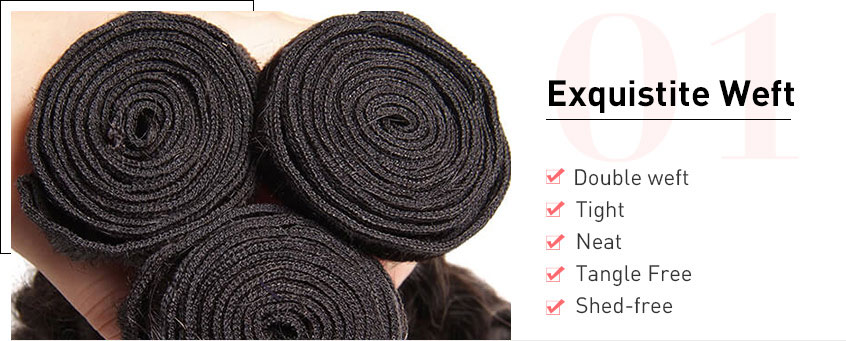


-
How to Install Hair Extension
Skin wefted human hair extensions are some of the most undetectable hair extension techniques available in the hair and beauty market today. They are also known as seamless wefts in the general market. Understanding more about skin wefts and how to successfully install yours will help you realize that they actually are very easy to apply.
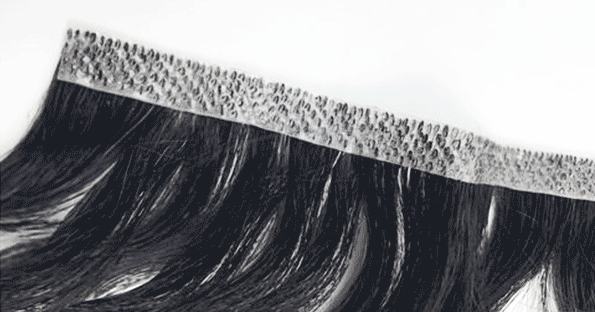
After the skin weft is in your hair, your hair will look beautiful with new extensions to style. Skin Weft Hair Extensionsare available on our site as well as curly and wavy wefts. Before we give you detailed instructions on how to install your skin weft, you’ll also need to know what you will specifically need to install your skin wefted Indian hair extensions.
*First determine where you would like to install your skin weft.
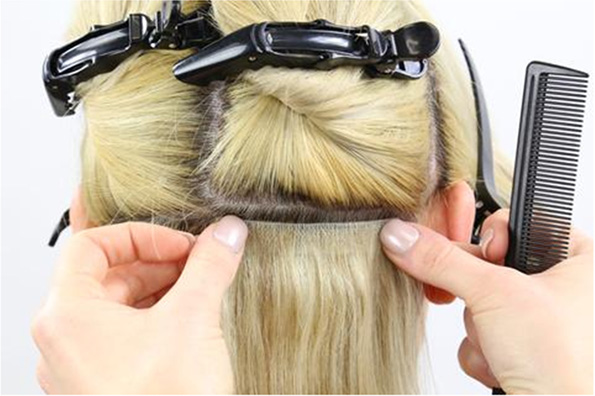
It’s important to understand that there is a “red zone” portion of your hair and this portion is actually common sense. It is the top layer of hair on your head. You won’t want to install the skin wefts here because they will show! Using your fingers, pull up top section of your hair using the back of your ears as a general guidance line. Clip that portion of your hair on top of your hair, successfully separating it from the bottom section of your hair.
*After you have separated the appropriate hair and it’s time to apply your weft, start from the bottom of your hair and work your way up.
But before you start installing, find the base of your scalp or the bottom section of your hair. At the base of your scalp be sure to leave a layer of hair that is about 1 inch in length. Now that you have another section of hair created, make sure to keep the separated hair that’s on top away from your middle section. Use a band or clip to keep it secured on top of your head. Now find a comb and form a straight horizontal line across your scalp’s head of hair. You will be placing your weft within the part in between your top layer of hair and middle layer of hair where your scalp is visible.
* Now it’s time to cut your weft to the appropriate size.
Usually the polyurethane strip that attaches to the hair on your scalp is a couple of feet long. You will need to adjust the length accordingly. Cut the weft to the size of the section on your head that you created. Leave about a half an inch on both sides of the weft.
*Now is the time to apply the glue to your hair weft.
Apply hair glue to the polyurethane strip. For installing skin wefts some people suggest using a combination of Liquid Gold Super Bond glue and toupee tape. After setting out your glue or a combination of tape and glue on a near by flat surface, place the cut-to-size weft on a flat surface too. Place the side of the polyurethane strip that has no hair facing upward on the surface. Squeeze the glue bottle to apply a consistent line of glue from one side of the polyurethane strip to the other.
How to Install Lace Closure
The most conventional way to install a lace closure is to sew or glue it. Most of you are not familiar with this step of free part lace closure install. So we bring to you an easy way to install lace closure.
What You Will Need: Lace Closure; Wig Clips, Bobby Pins, Needle/Thread, Elastic Band, Concealer.
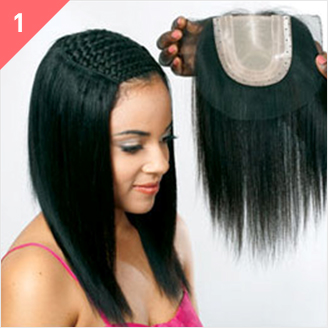
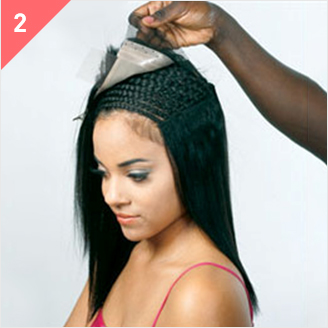
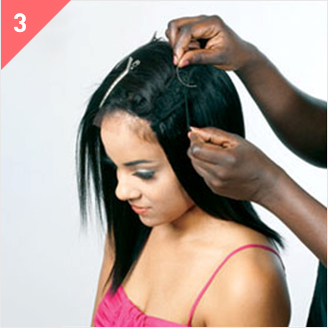

Step 1: Preparation
The first thing to do is attach the elastic band to the closure. Make sure that it will fit securely in your head so that there won’t be any incidents! Also, sew two wig clips to the closure at this point.
Step 2: Placing
It’s important that all of your hair closure lays flat underneath the wig, so it looks as realistic as possible. Pat the hair down the middle and braid/twist everything up. Used a comb to place a center part in the closure. Place the closure on the hair (placing it over the part), and make sure it’s in the right place.
Next, take the wig and place it over the hair. It should come as close to the front of your head as possible so that it can be covered by the hair that falls. Use bobby pins to secure the wig in place, however, you can sew wig clips on to the ‘U’ part wig as well
Step 3: Final Product
Once the wig has been secured, readjust the closure accordingly. Place it a little further back from the forehead, so that the natural edges can be seen. This gives off a clean and professional look. Clip down the closure onto the head to secure it.
If it seems like the closure doesn’t blend in with the scalp, you can take a little concealer and blend it from the closure to the top of the forehead.
To go an extra step, pull out a small piece of the hair from the front, and blend it with the extension hair. This isn’t necessary, but it’s useful.
Q: What is the best type of human hair extensions?
A: Virgin texture hair is the best grade of weave hair for it is unprocessed and thus can be styled and colored as your own natural hair. The most popular types of human hair are Brazilian, Malaysian, Peruvian and Indian Hair.
Q: What is the difference between grade 8a and 9a hair?
A: Grade 8A and 9A is 100% virgin hair, which is pure human hair from a single donor. The hair was never processed in any way and has all cuticles intact. The price of 8A and 9A extensions is high with a lifetime of 1.5 to 2 years
Q: How long do hair bundles last?
A: Our virgin hair lasts up to 6 months. With proper care, our hair can last longer. But It really depends on the texture and your care of the hair. Your hair can last up to 1-2 years with proper care.
Q: How many bundles of hair do I need for a partial sew in?
A: Partial sew-in styles require less hair than a full sew-in hairstyle and will take a maximum of two bundles for standard lengths and three bundles if using longer lengths over 24″.
Q: How many bundles for a full sew in with closure?
A: If you are going to get an 8-14 inches, you need 2 bundles, anywhere from 16-20 or 22 inches, you need 3 bundle deals, anything past that, you need 4 bundles. And this is all with a leave out or a closure.
Q: Is a frontal or closure better?
A: A silk base closure can give the appearance of a natural scalp, when a parting is made in the closure, the silk gives the illusion of scalp. On the other hand lace frontals/closures due to the material have the advantage of laying much flatter than the silk based closures and can blend better with scalp.
Q: Do Frontals damage your hair?
A: Frontals can protect your hair and edges from damage when installed and cared for properly. Daily styling and manipulation of your hair can lead to damage, split ends, and breakage. However, frontals help you avoid breakage and thinning around your hairline.
Q: How often do you wash your weave?
A: Just like your natural hair, your weave needs to be cleaned (once every two weeks; every week if you work out a lot). It can easily pick up bad scents, dirt, and debris, much like your real hair. So when your hair, the extensions, or both start looking stringy, it's time to give them a good scrub-down.
| Hair Closure: | Free Part,Middle Part,Three Part |
|---|---|
| Hair Weft: | Machine Double Weft |
| Hair Weight: | 100±5g/bundle |
| Length: | 8-26 Inch |
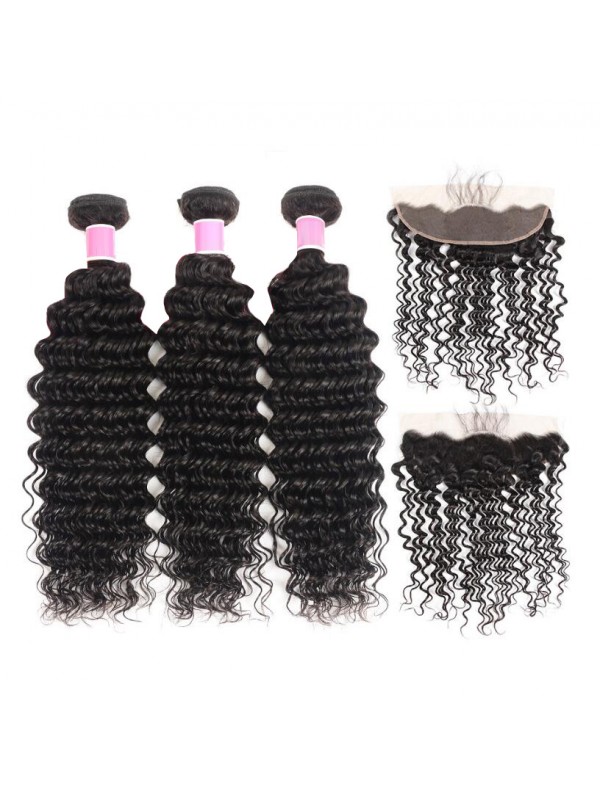
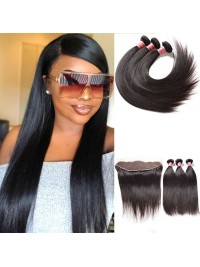
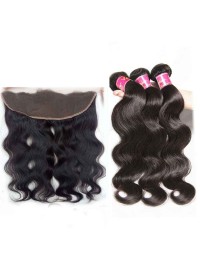
| Lots: | 3pcs Weft 1pc Closure |
| Material: | Indian Hair |
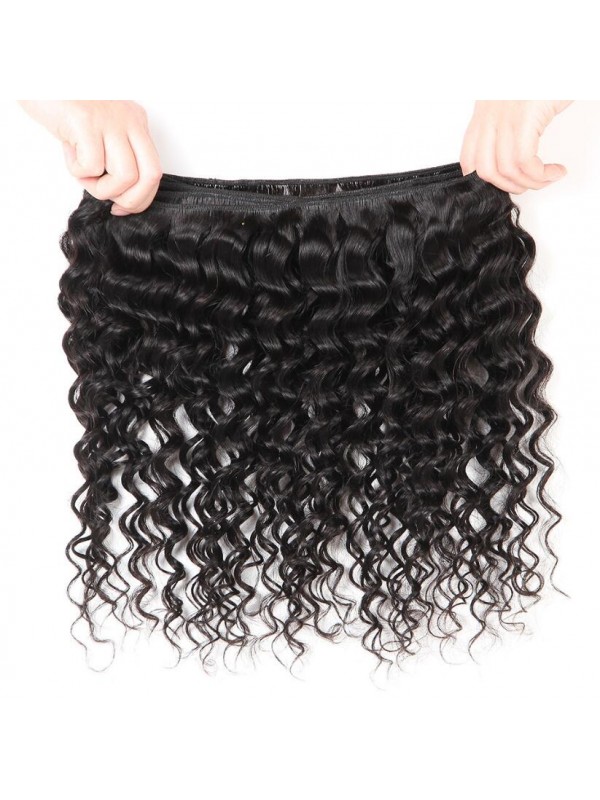
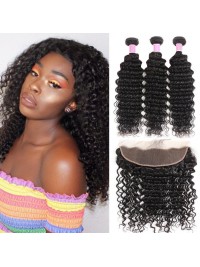
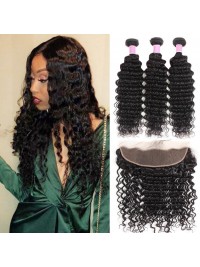
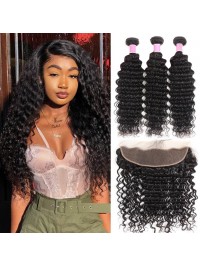
| Hair Style: | Deep Wave |
Total Delivery Time = Processing Time + Delivery Time
Processing Time, According to different products, there are different processing times. You can see more details as followings:
Standard Order: It will take 7-10 days.
Lace Front Wigs Order: It will take 10-15 days.
Monofilament Order: It will take 18-25 days.
Full Lace Wigs Order: It will take 15-20 working days.
Hand-tied Wigs Order: It will take 15-20 working days.
Men Toupees/Women Toppers Order: It will take 40-45 working days.
It will take 2-4 days for you to receive your items.
Due to force majeure, the delivery time may be affected.


